Hello lovelies! Welcome back to the blog! Today, I would like to give you some ideas on how to use your leftover soap pieces. Yes, those annoying little ''nuggets'' that you are trying not to throw away, but you don't know what to do with, especially when you are trying to be zero waste! Hehe!
Let's dive in immediately, get those creative juices flowing, and save you a little money!

#1: Rebatch your soap
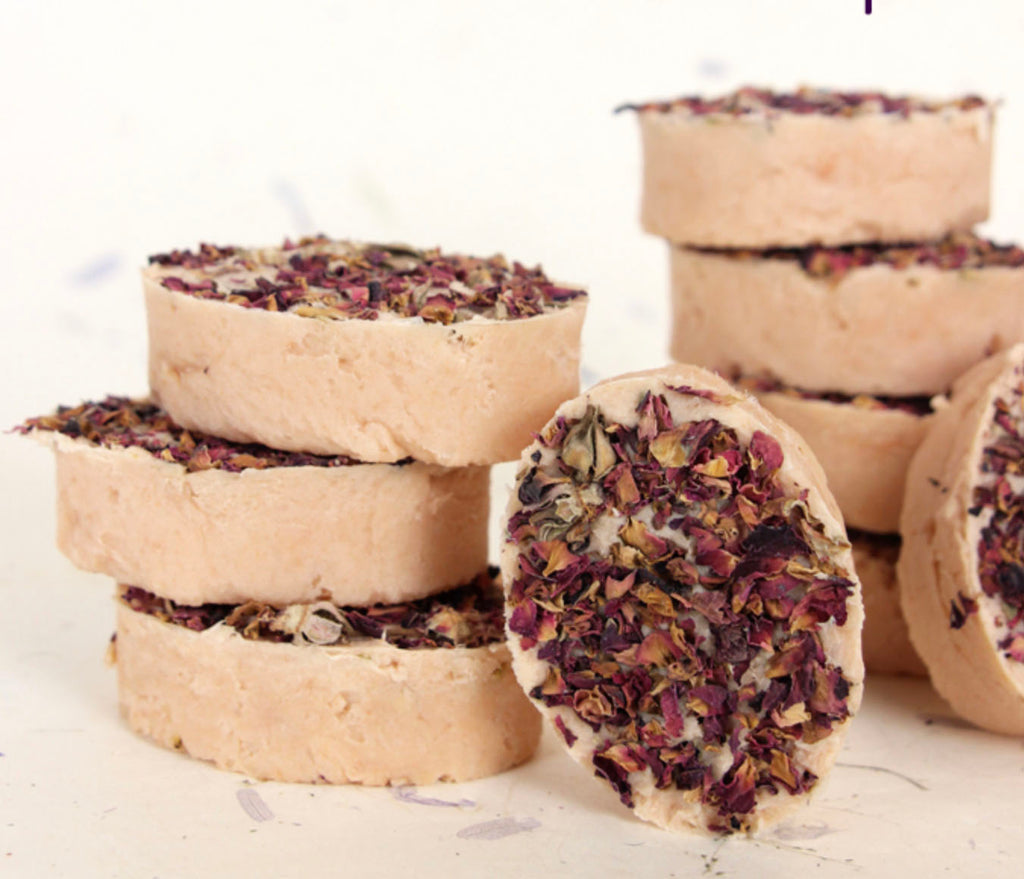
Although the term "rebatching soap" may sound pompous, the actual process is quite simple. Rebatching soap is the straightforward process of remelting and reshaping soap bars that are no longer useful because of their size, shape, or condition.
It involves grating the soap, melting it, adding desired ingredients, and pouring the mixture into molds to cool and harden. This method provides an opportunity to create unique and personalized soap blends.
Youwish.nl wrote simple instructions, easy to follow and well explained :)
Please note that this "new rustic product" may be of lower quality in terms of lather and nourishment compared to your original soap bar, but it is still a sustainable option and will be pleasant to use.

#2: Create ''Fake'' Liquid Soap
This is the "liquid" soap that I have been using to wash my hands at home and in the lab for years, and I am very pleased with it!
As seen in #1, this is also a "grate, melt, and add water" type of process.
This is the method:
- Gather and grate 225 grams of soap, or cut it into small pieces with a kitchen knife
- Boil 4 liters of water, distilled or tap
- Stir the soap into the water until it dissolves completely. How fast this happens depends on the size of your soap flakes. You can also leave it for 12 to 24 hours, or overnight
- Add any essential oils or additives if you wish, but if your soap already has a scent, you might want to consider skipping this step.
- Pour the soap directly into a dispenser bottle or give it a whisky with a stick blender or stand mixer (mind the splashes!) if too thick.
Glycerin is a natural by-product of the saponification process, which means that you don't need to add any if you used natural soap.
Disclaimer to manage expectations: Liquid soap made from soap bars will have low lather and may solidify again quickly, may also be less nourishing. This is normal, and to fix it, you can add more water, boil it again, and repeat the process. ;)

#3: Use a natural fiber soap bag
Using a soap bag is an excellent way to prolong the life of your soap, or gather all the little bits and pieces of soap you might have left and use them until the end! As a bonus, it helps create lather faster, keeps your shower cleaner, and can be easily hung if you have limited space or want to hang it out to dry.
You can choose from several natural materials and formats, with the most common being hemp, cotton, and sisal. Sisal is probably the most exfoliating option. You can even get creative and crochet your own soap bag, or sew your own using an old cheesecloth!

Spirulina Candy Cane Soap, sold at Little Plant Pantry, with an old Calendula & Oats soap bar stick on to it.
#4: Stick the old bar on to the new soap bar
This is also one of my personal favorites! Although it may not be the most visually appealing trick, and your easily-distracted friends may ask about it, it is undoubtedly the quickest and simplest method.
When beginning a new bar of soap, ensure that the old bar is wet and then stick it onto the new bar. After the first wash, the old soap will melt right in.
These are my tips for the week. I hope you find them useful! If you're struggling with tips #1 and #2, I would be happy to teach you. Just get in touch, and we can organize a workshop!
With love from sunny Amsterdam,
Marisa


